In the last 6 months, I’ve been having a hard look at the stash and trying to figure out where my current interests lie. In addition, I am realizing I don’t have much display space left, particularly for larger subjects. I wanted to do some simpler builds that take less time to do. With less time than I used to have, for now, I wanted to see some results in the limited time I have. Also going ‘back to basics’ would hopefully rekindle the sheer joy of modelling as a distraction from life.
As what tends to happen, fate intervenes in the form of a collection coming into the local hobby shop. This consisted of aircraft, mostly in 1/72 I’ve all ages, both the subject and the kits. Many old friends from the past, from Airfix, Frog and Matchbox were in the collection. But what caught my eye was some of the experimental or prototype aircraft.
Last year when I built the 1/48 A4 Skyhawk in Canadian Air Force what-if markings, it kindled some thoughts about doing more along that line.
There were several kits in this collection that would meet my needs. In addition, I had some CAF decals from the previous issue of RT, the Magazine of IPMS Canada and I knew more would be coming soon.
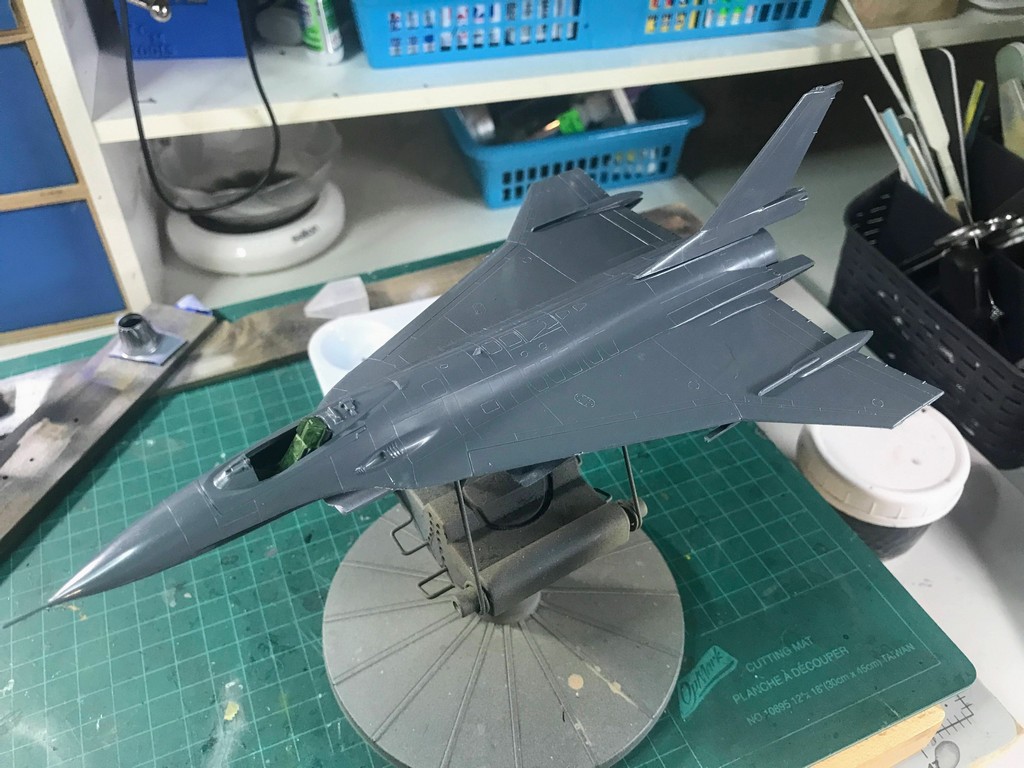
The F-16 XL is the first of the series of “what if” Canadian subjects. This is purely my imagination being let loose.
The 1/72nd Monogram F-16 XL is an older but good basic kit as I reviewed earlier. I understand the dimensions are not entirely accurate, in particular the fuselage length, but it will do for my purposes.
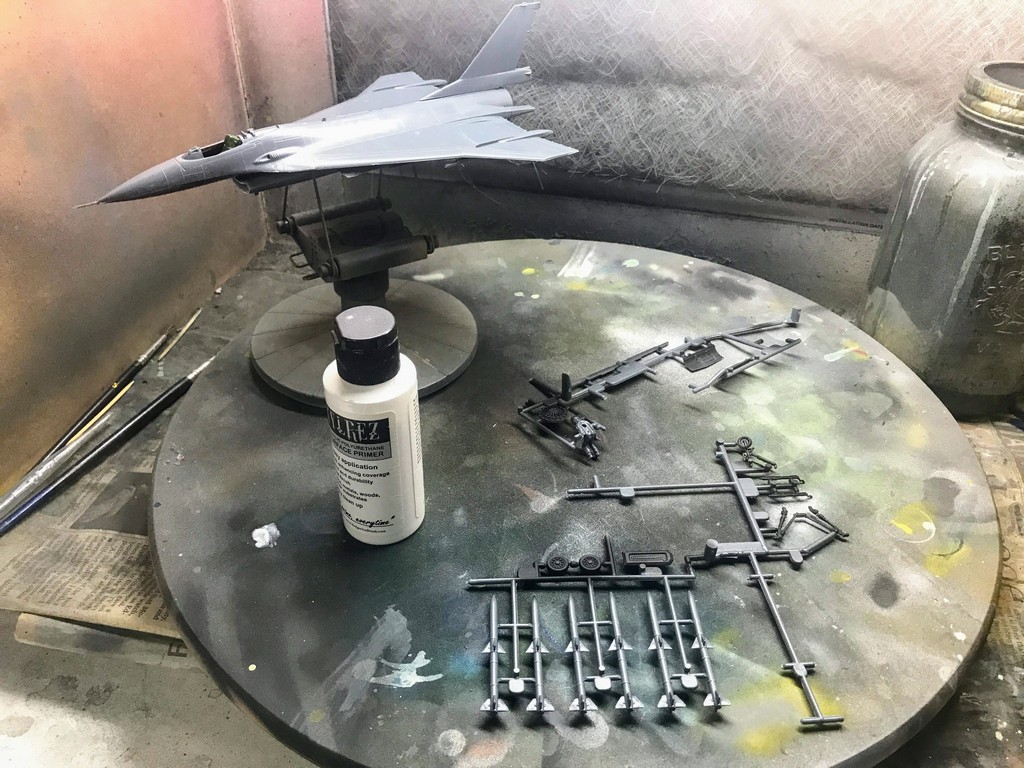
Construction begins with the 1 piece cockpit section as well as the main intake being primed and painted as this would be much more difficult later. In each case, Stynylrez primer, followed by Tamiya acrylics shot through the Patriot 105 airbrush did the job.
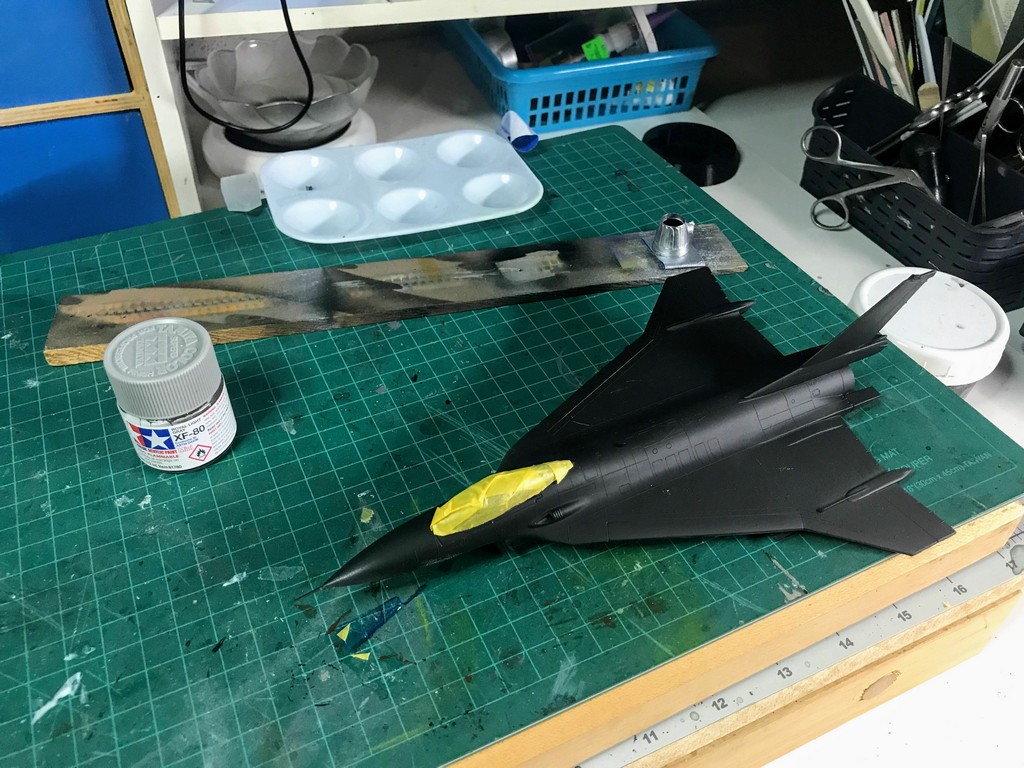
I then put the two halves of the airframe together. After some basic masking, this was also primed black with white primer in the wheel bays. At this point, the canopy was completely masked and put on temporarily with white glue. The canopy comes pre-tinted and I’ll decide later how I will handle the canopy frames.
Finishing off this stage is the priming and painting of the engine inlet and exhaust. This was done using Vallejo Metal Colours, in this case, aluminum.